There is no refined sugar or flour in this cake. There is, however, chocolate. And banana. And honey. It's like a big healthy muffin in the form of a cake.
As you might be able to tell, I'm having a hard time classifying this cake. Hence the term "snack cake." I think snack cake is a nebulous category of food, not quite pigeonholing itself in the realm of dessert, breakfast, or after-school snack, so that it can work for any of these three. The bottom line is, you'll like it. Your kids will like it. And the world will be a better place if you make it.
(Okay, I made that last one up.)
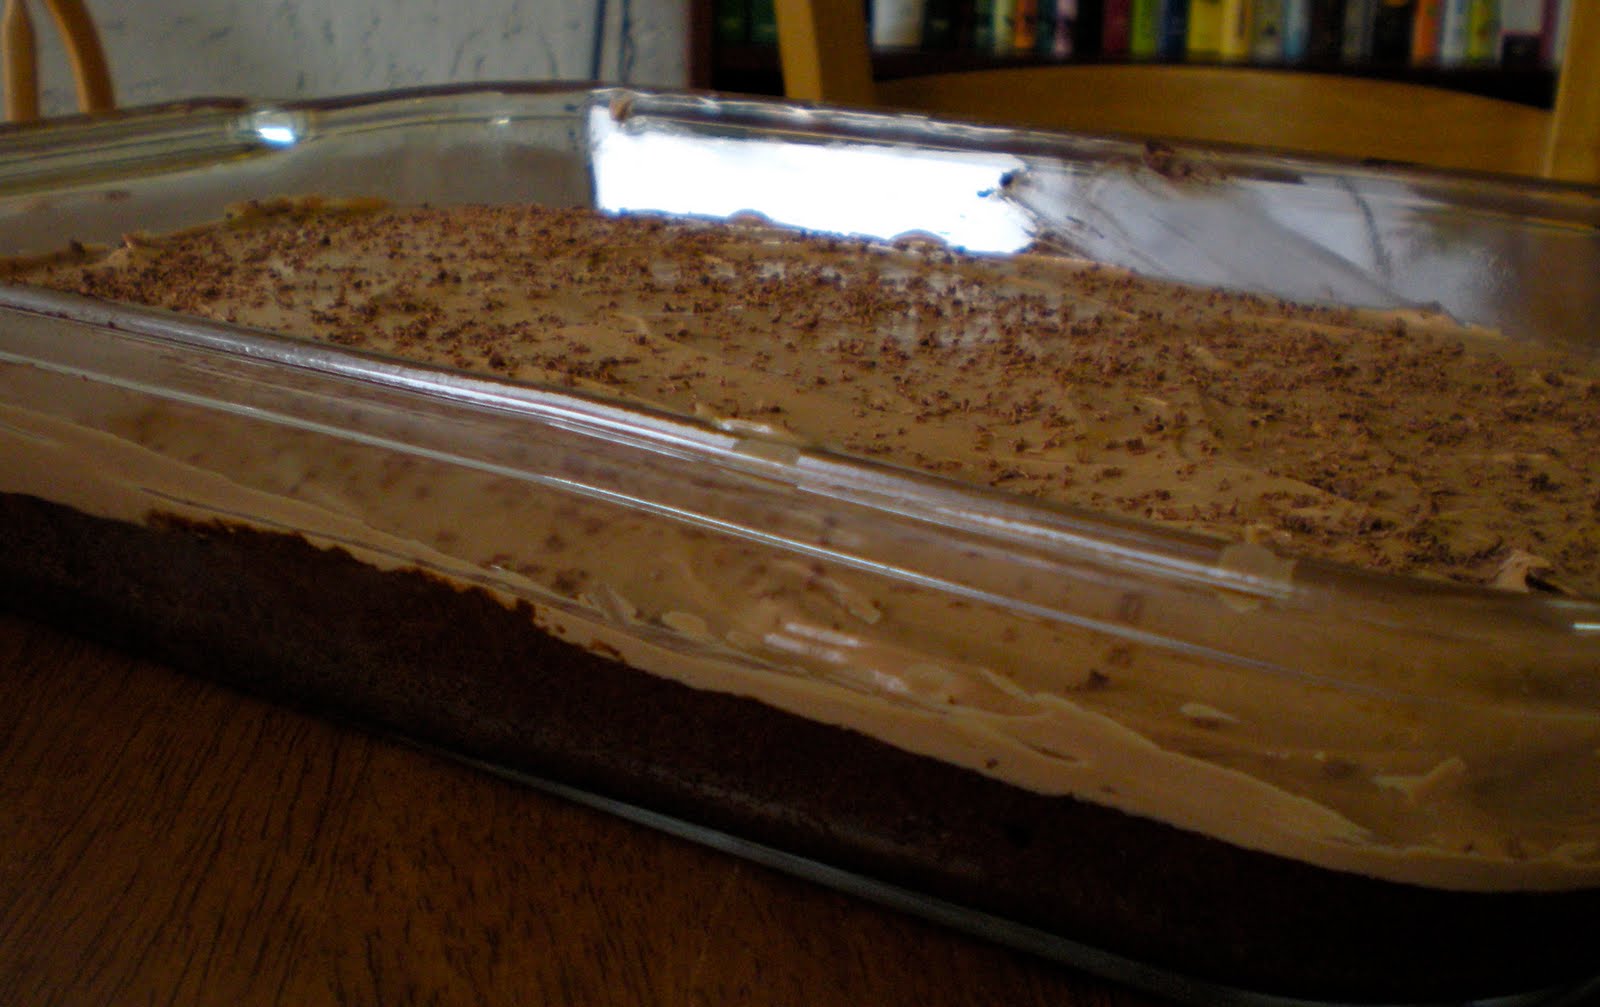
Chocolate Chip Banana Snack Cake
makes one 8 x 8 cake
INGREDIENTS:
cooking spray
2 cups white whole wheat flour
1/2 teaspoon kosher salt
1 tablespoon baking powder
2 ripe bananas, mashed (about 1 cup)
1/2 cup nonfat milk
1/4 cup honey
1 egg
3 tablespoons canola oil
3 tablespoons canola oil
3/4 cup semisweet or dark chocolate chips
DIRECTIONS:
1. Preheat oven to 400. Lightly spray an 8 x 8 cake pan with cooking spray.
2. Mix the flour, salt, and baking powder in a large bowl.
3. In a separate bowl, mix the banana, milk, honey, egg, and oil together.
4. Create a well in the middle of the dry ingredients and pour in the wet. Stir with a wooden spoon or rubber spatula until just combined. The mixture should be thick but wet - if it's too dry, add a splash more milk.
5. Stir in chocolate chips and then transfer batter to the prepared pan. Bake for 15-20 minutes, or until browned on top and a toothpick comes out clean. Let cool 5 minutes, then serve warm.
Enjoy!